How to Apply for TSA Pre-check: My Real-Life Experience and Tips
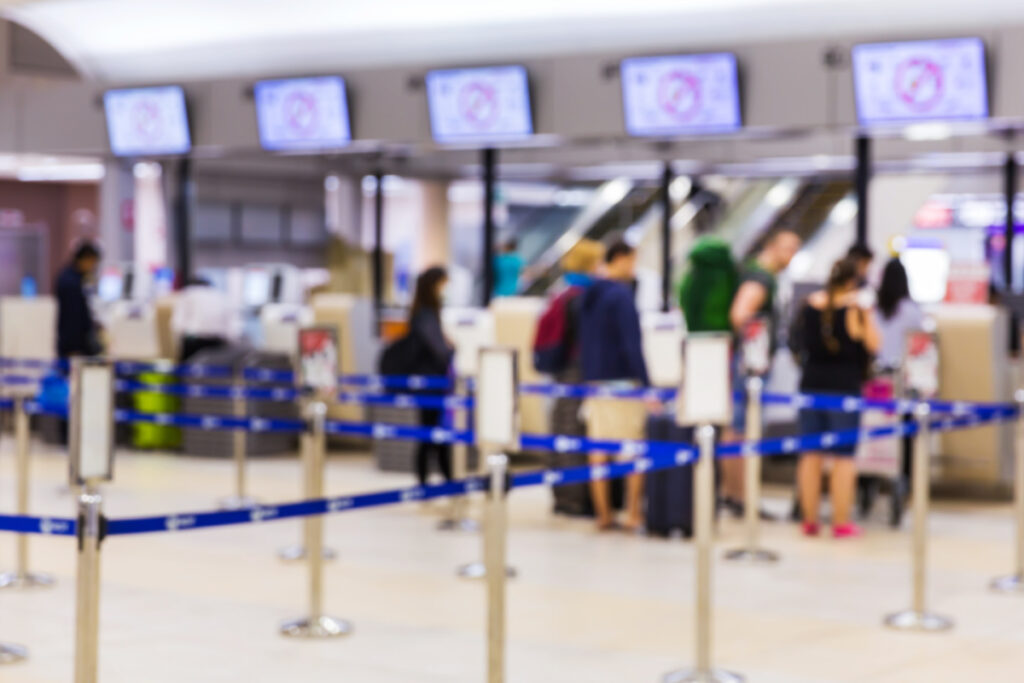
Have you ever stood in a painfully long line at air port security and thought “there has to be a better way”? Well, there is – TSA PreCheck!
I’ve been through the process and reaped its benefits, so I’m going to share what you can expect (including a few quirks and surprises) so you can save time and aggravation on your next trip.
TSA PreCheck in a Nutshell
- Cost: $78 for 5 years (this can vary. also, some credit cards pay for this as a benefit, so check to see if you have any perks like this available through your credit card company)
- Apply: start online at tsa.gov
- In – Person Appointment: Required for ID check, finger (hand) prints, and photo
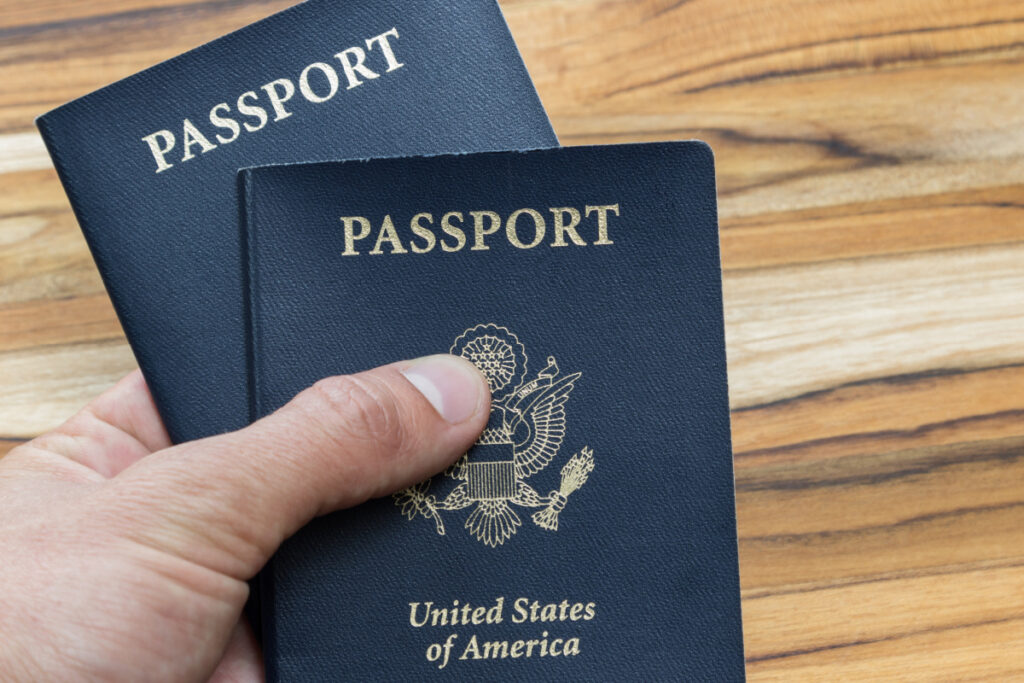
- What You Need: Passport (or birth certificate + photo ID)
- Time to approval: up to 30 days after your appointment, but mine took only 4 days!
- Benefits: Shorter lines at airport security, no need to remove laptop from a carry on, also can leave your shoes and jacket on while walking through the scanner. Totally worth it!
Step 1: The Online Application
I started on the TSA website, where you fill out the full application online: basic information plus a few background-check style questions. It doesn’t take long, maybe 20 minutes.
When you’re done, the site prompts you to schedule an in-person appointment. That’s where you bring ID, get fingerprinted, and take a quick photo.
Tip: Schedule as early as you can. My nearest location didn’t have appointments for 3 weeks.
Step 2: The In-Person Appointment (a.k.a. The Adventure)
My appointment was at 2:10 p.m. in the back of a Staples store—a setup that wasn’t immediately obvious when I walked in. The Staples clerk pointed me toward a corner where several people were waiting, all of us hoping to get through quickly.
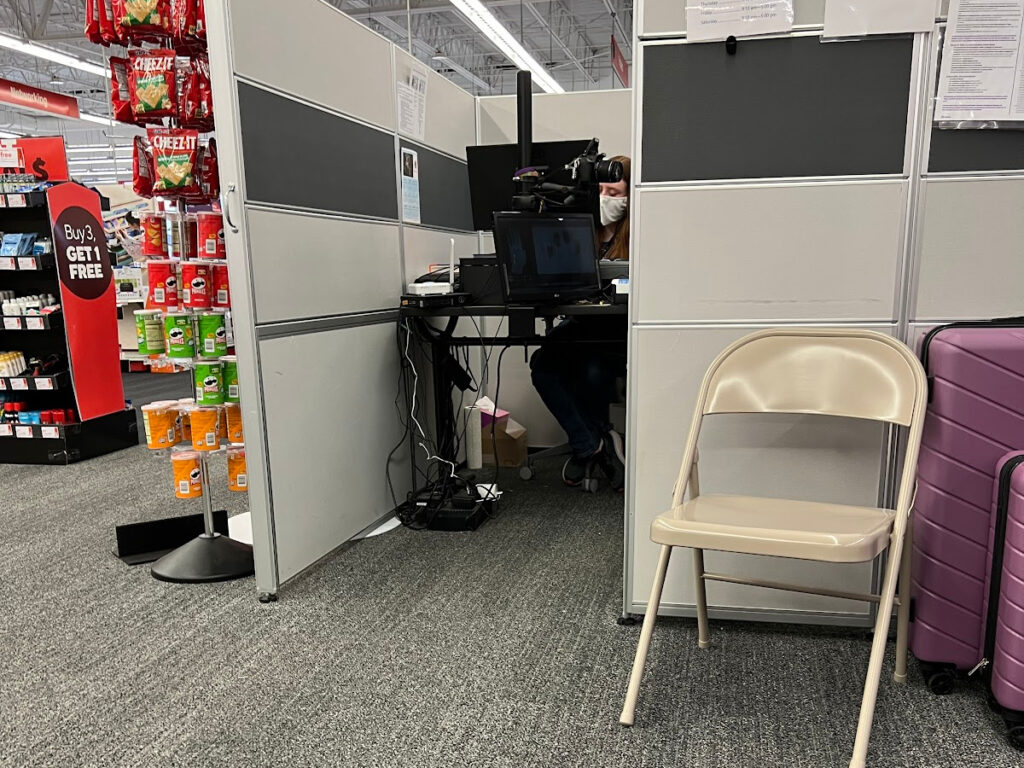
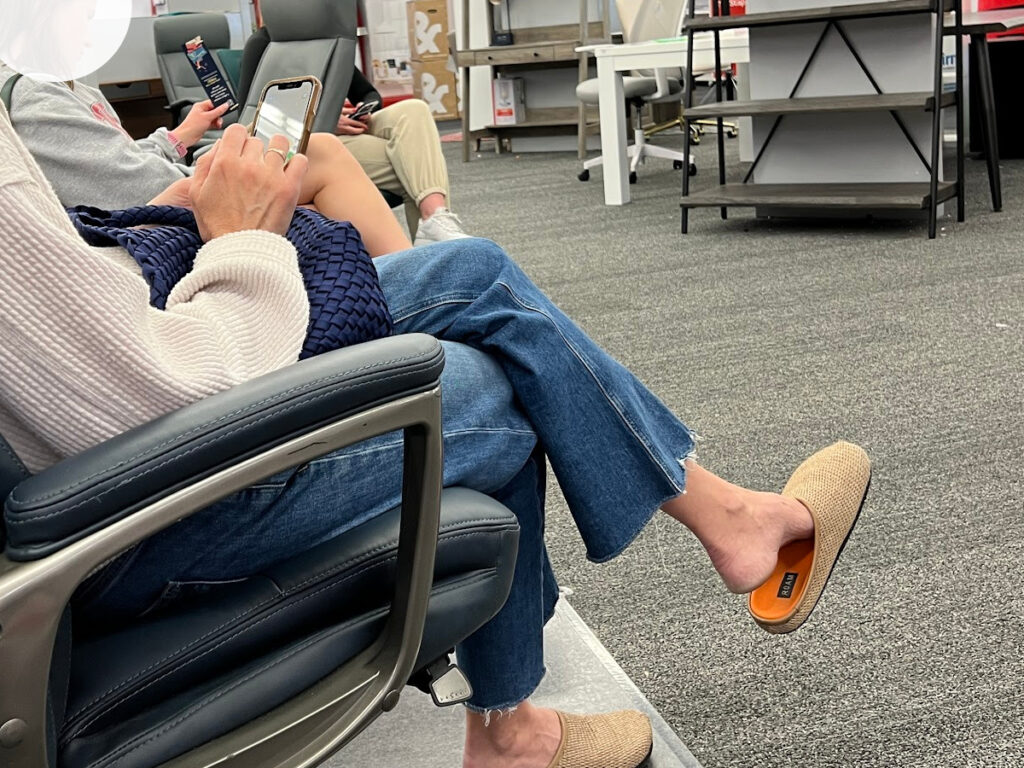
The interview space was basically a gray cubicle with very little privacy. We could hear each other’s entire conversations, so the whole room knew the drill:
- ID check
- Quick verification of online answers
- Fingerprints
- Photo
I had a few surprises along the way:
- My passport was expired! Luckily, since it was less than a year out of date, it was acceptable as one form of ID, but I needed to show my driver’s license too.
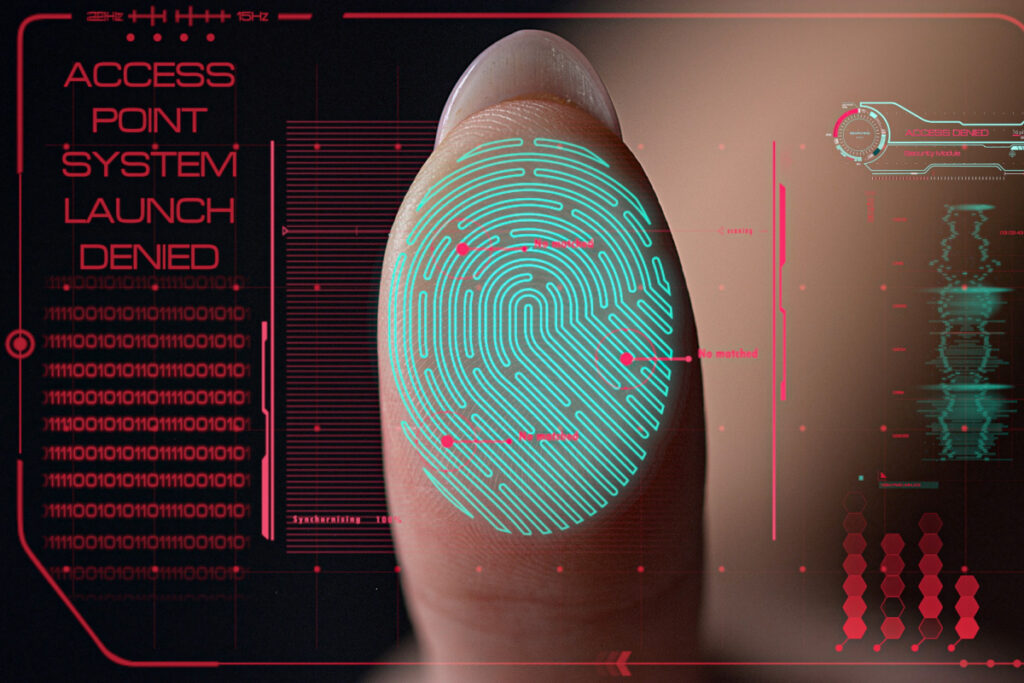
- The fingerprint scanner had a heck of a time reading my prints, so we went through multiple attempts before it worked.
- And the no-smiling rule for the photo? Let’s just say my first try didn’t even have me looking at the camera.
Even with all that, the whole thing took less than 15 minutes once my name was called.
Step 3: Waiting for Approval
The agent told me to follow up if I didn’t hear anything in 30 days, but I got my approval email in just 4 days. On a Sunday, no less!
Once you’re approved, you get a Known Traveler Number (KTN). Be sure to add this to your frequent flyer profiles with every airline you use. That’s what makes the Pre-check logo show up on your boarding passes.
What to Expect: Quick Checklist
Before your appointment:
- ✅ Schedule early if you have a trip coming up
- ✅ Bring valid ID (passport or birth certificate + photo ID)
- ✅ Double-check passport expiration date
- ✅ Allow 10–15 minutes per person for interview and fingerprints
- ✅ Add your KTN to your airline profiles after approval
Why It’s Worth It
With TSA Pre-check, you:
- Use shorter security lines
- Keep shoes, belts, and light jackets on
- Leave laptops and liquids in your bag
- Travel with less stress—especially on busy weekends or holidays
Most times I am able to breeze through the scanner, but I do occasionally get pulled aside for an extra check. I really love that I never have to remove my shoes or jewelry – it’s such a “thing” to put yourself back together! The hubs had a hip replacement years ago so he has to go through a special scanner for that.
Even so, it’s so much faster than the usual security process!
Final Tip
Not every airport or security checkpoint has a dedicated TSA Pre-check line, and sometimes it is located in a different area than the rest of security, so keep an eye out for the signs. When it’s there, though, you’ll wonder how you ever traveled without it.